Tuesday, August 28, 2012

Early Bird Holiday Blast

Girls, please don't forget the early bird rsvp for the Southern Inkerbelles Holiday Blast is this Friday.  After that, the fee goes up $10.  Don't miss out!

Sunday, August 26, 2012

Framelit Organization

I'm always intrigued by other's ideas on how to organize our products better.  Here are two ideas that I give 2 thumbs up!!

Here's Stephanie's.  Click here.


And here is Kay's.

Saturday, August 25, 2012

Bow Video Tutorial

The paper bows on the back of the Holiday Mini are all the rage right now.  I showed club last month how to make one of them, but I found Frenchie's video on one more too.  Enjoy!!

Friday, August 24, 2012

Non-Big Shot Card

Had to take a break from Christmas.  Here is a card I showed at club.  I have seen so many samples made with this one.  Be looking for others using this card!  I got this one from Mary Fish.  It's very rare that I make a card w/o the Big Shot, but here is one of those unique posts for those of you who don't have it.  (You still need it though :)

Supplies:
Stamp Set: Pleasant Poppies, Curly Cute
Paper: Black, Pool Party, White, vellum paper
Ink: stazon black
Accessories: Pool Party ruffled ribbon

Thursday, August 23, 2012

Christmas Card #4

Here is my favorite.  I love quick and elegant.
Supplies:
Ink: Gumball Green
Stamp Set: Embellished Events, Scentsational Season
Paper: White, Silver glitter paper (but ended up using red on the final card)
Tools: Big Shot, Holiday Collection framelits
Accessories: dazzling details (used the cobbler one on the final card)

Wednesday, August 22, 2012

Christmas Card #3

So, I like the new ink pads a lot, but it is taking a little time to get used to.  I have found when I do a sponging project in a class situation, it completely gets dried out.  I'll have to start collecting the reinkers too. Even they work differently.  Very juicy so don't use as much as you did with the old formula.

Supplies:
Stamp Set: Evergreen
Ink: Always Artichoke, Early Espresso, Crumb Cake
Tools: Big Shot, square lattice embossing folder, label framelits
Accessories: stampin sponges, dotto respositionable adhesive and dimensionals

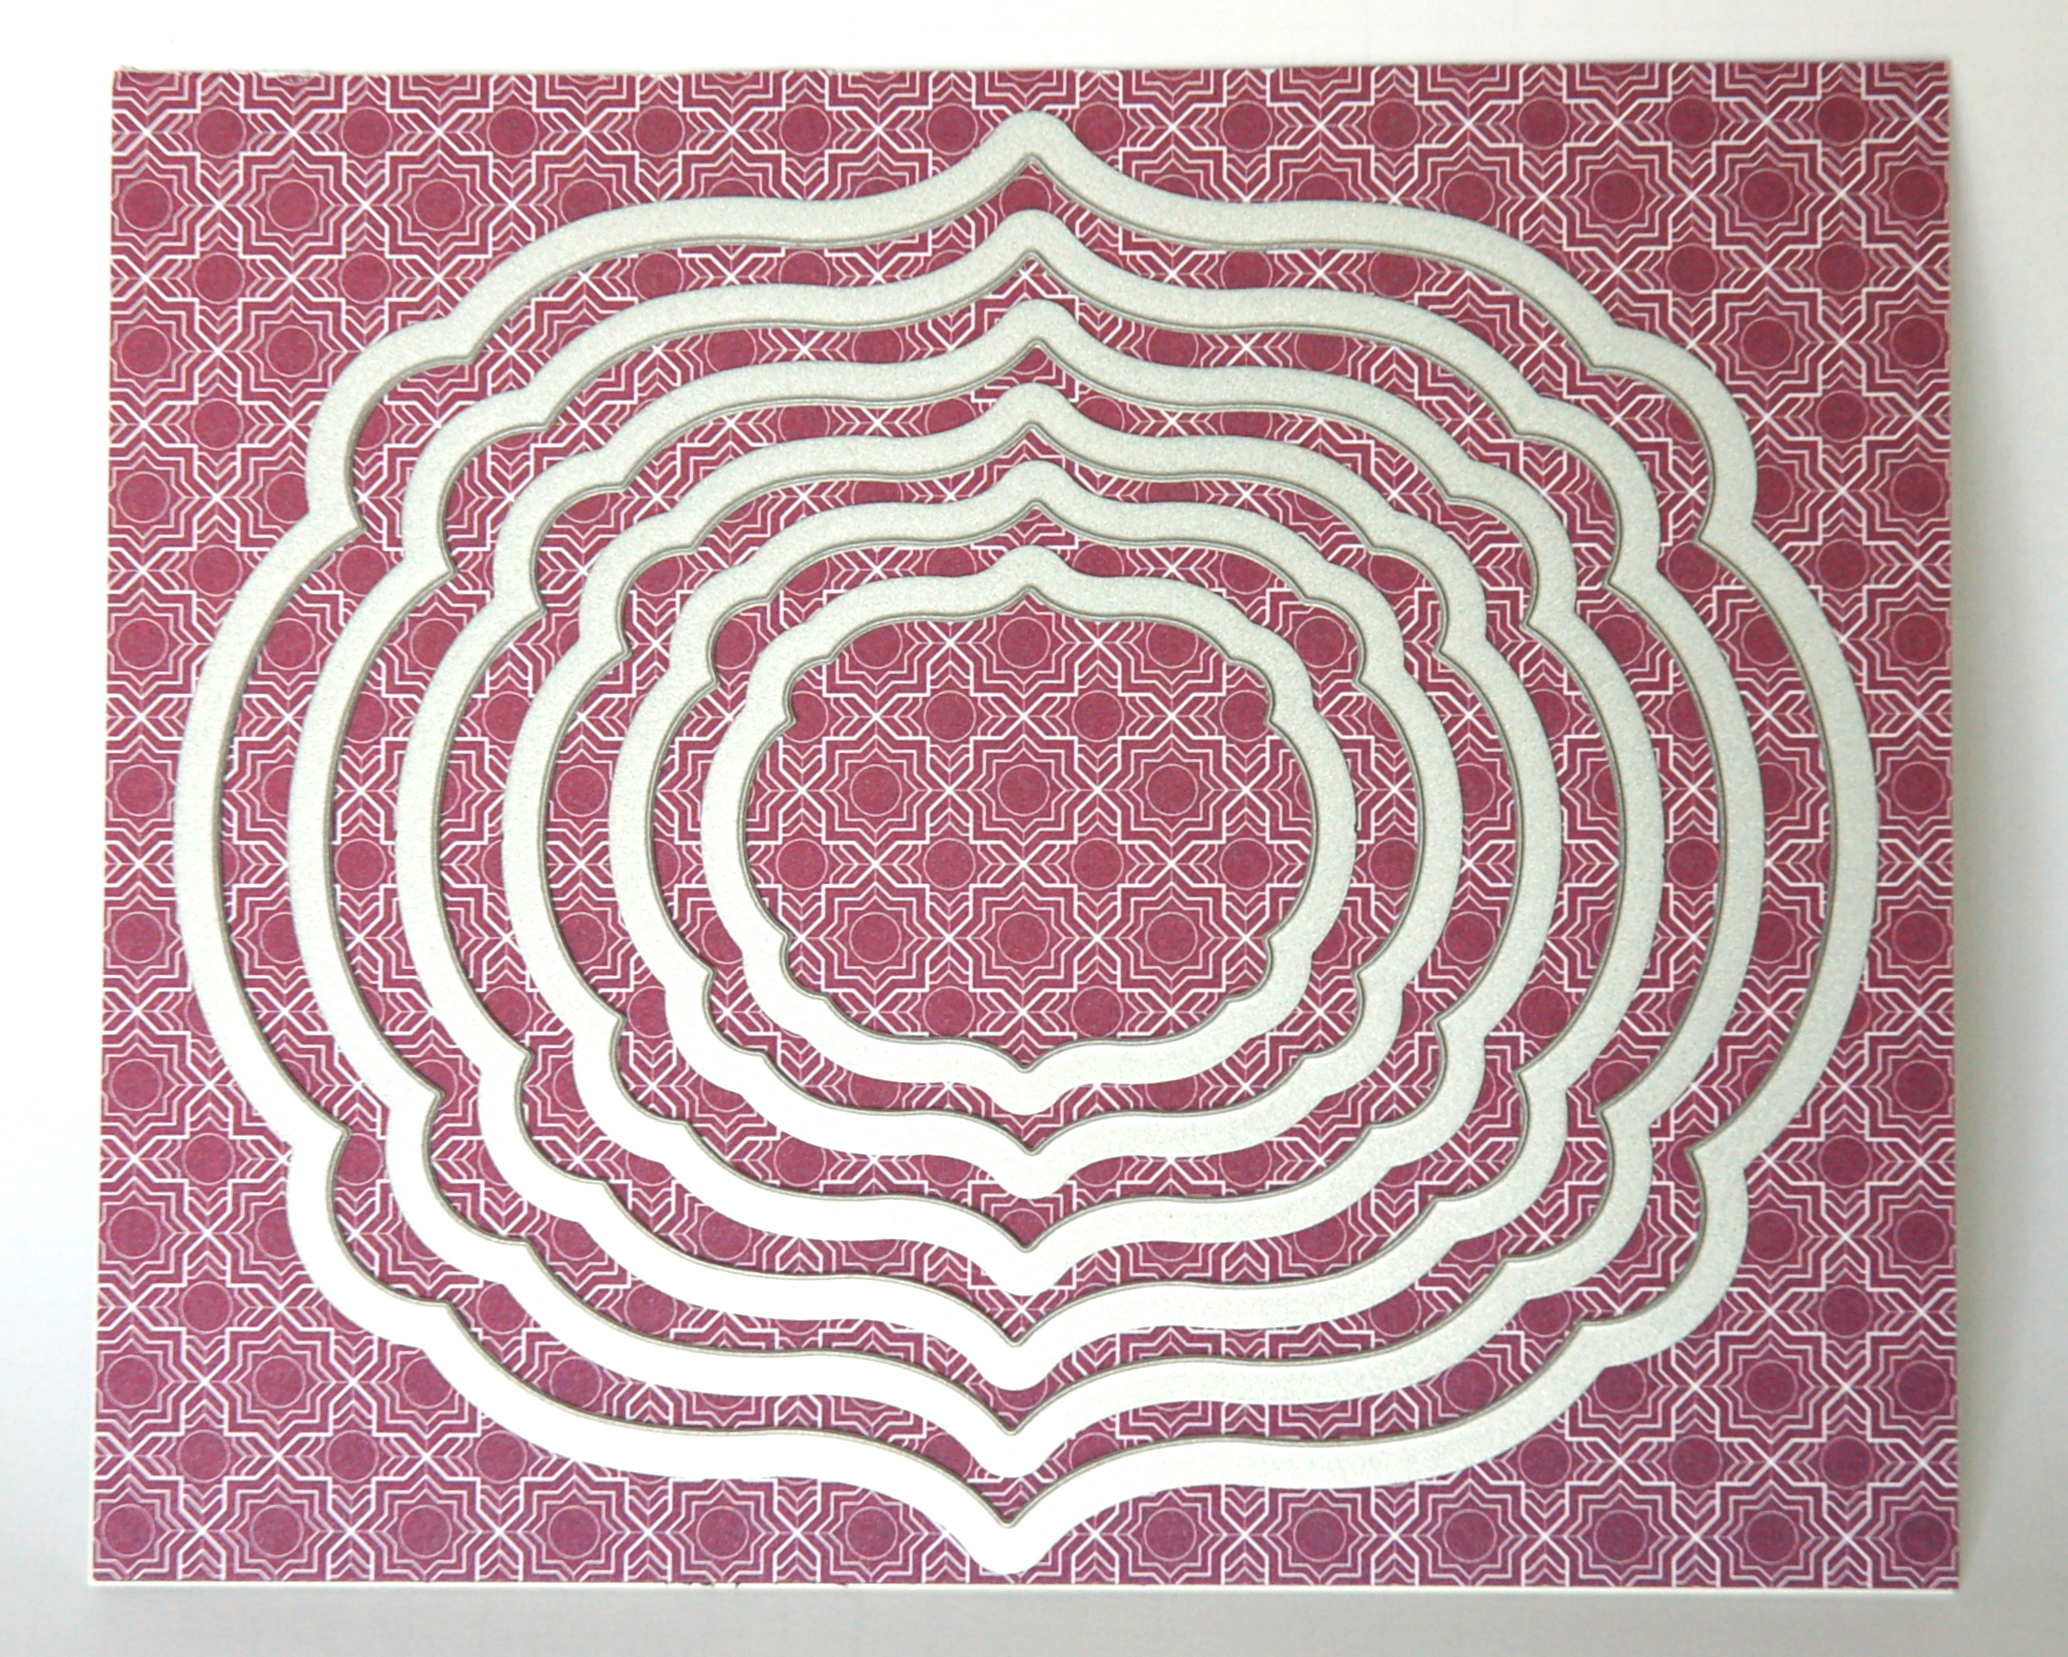
So, how'd I do it?  Pick the frame you want to be the center image of your card.  Put that aside.  Then, pick the frame 1 smaller and cut out the image.  Then, use the larger one on the outside of that to create a frame.  Lay it on top the card piece and sponge going from in to out.  That probably didn't make sense.  Let me know if you need clarification.  Then I sponged around the outside.


Tuesday, August 21, 2012

Christmas Card #2

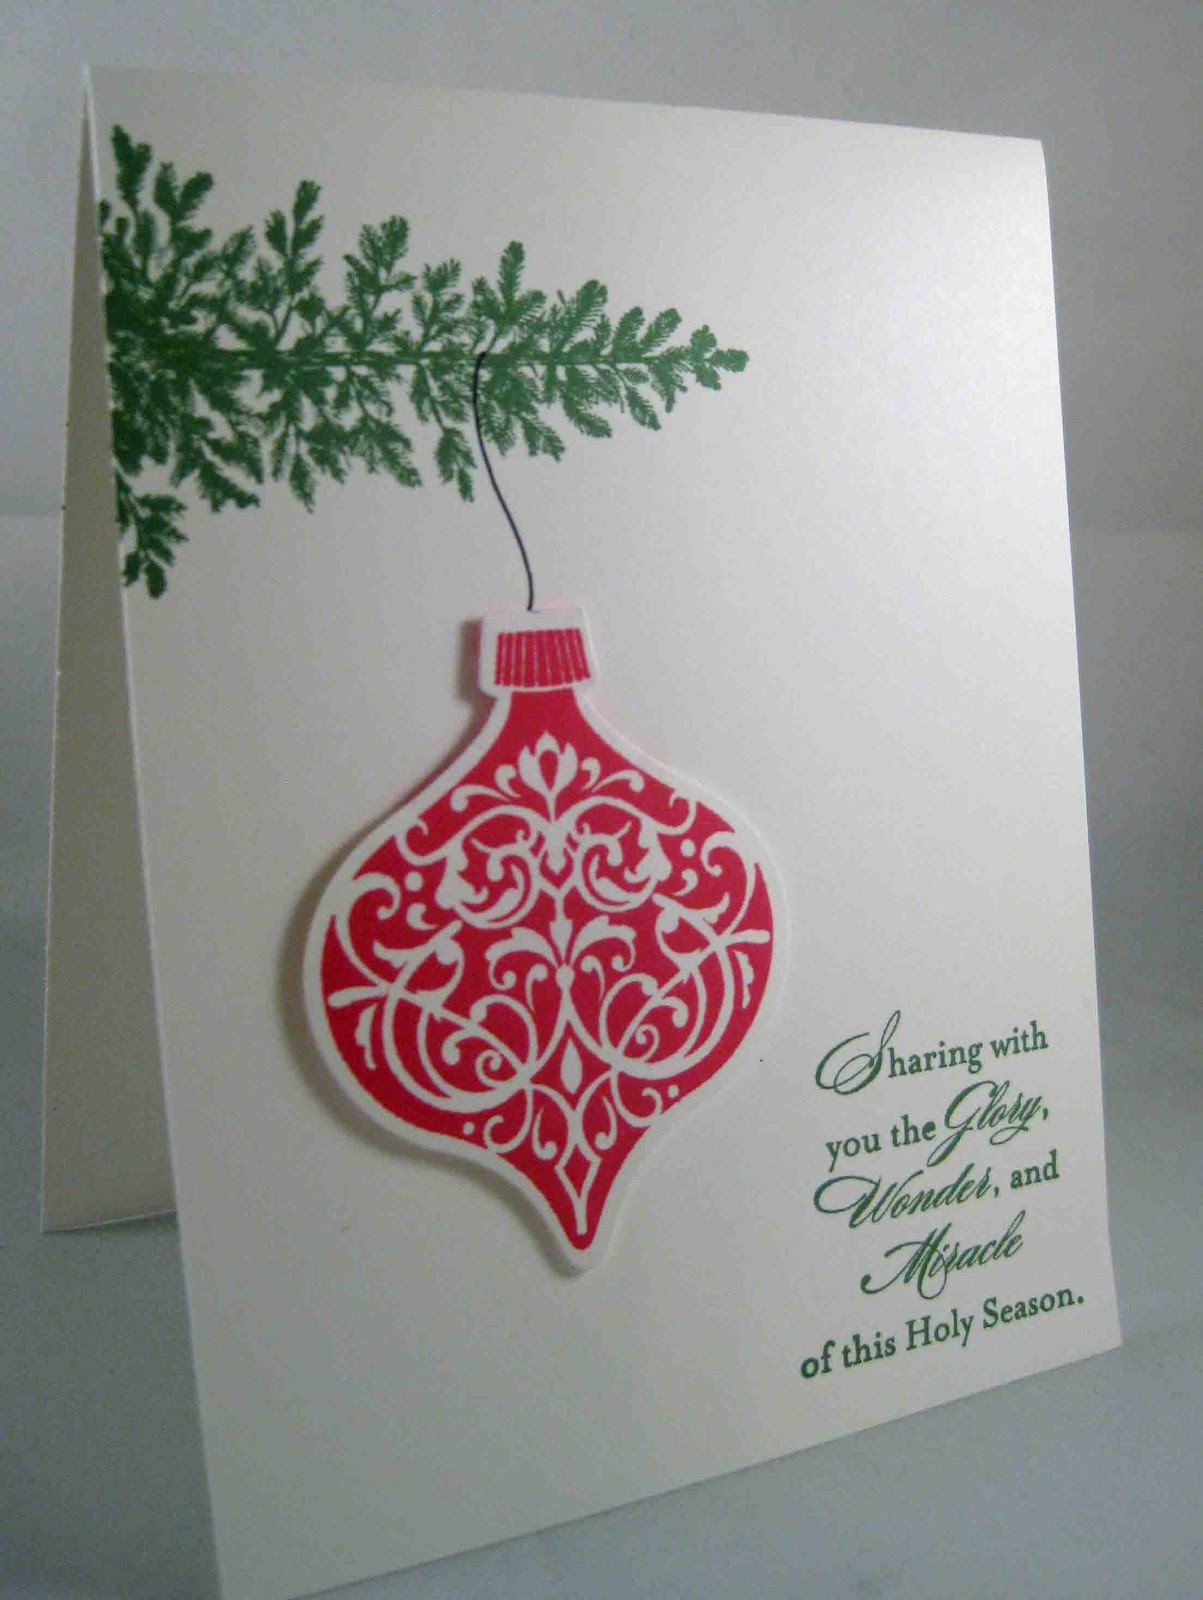
Here is a card you might recognize.  I did this same thing but made the ornament a shaker card.  That would be too time consuming for club so I dumbed it down a bit :)

Supplies:
Stamp Set: Lovely as a Tree, Keepsake ornaments, More Merry Messages
Ink: Real Red, Garden Green (at the club, we actually used cherry cobbler and old olive.  I liked it better), black marker
Paper: white
Tools: Big Shot, ornament keepsake framelits
Accessories: dimensionals