It's been a year now since SU! came up with this adorable idea to add stamping to the kitchen!! I have perfected this product after a year of messing up. I wanted to share a few tips with you so you will realize how fun these little guys are!
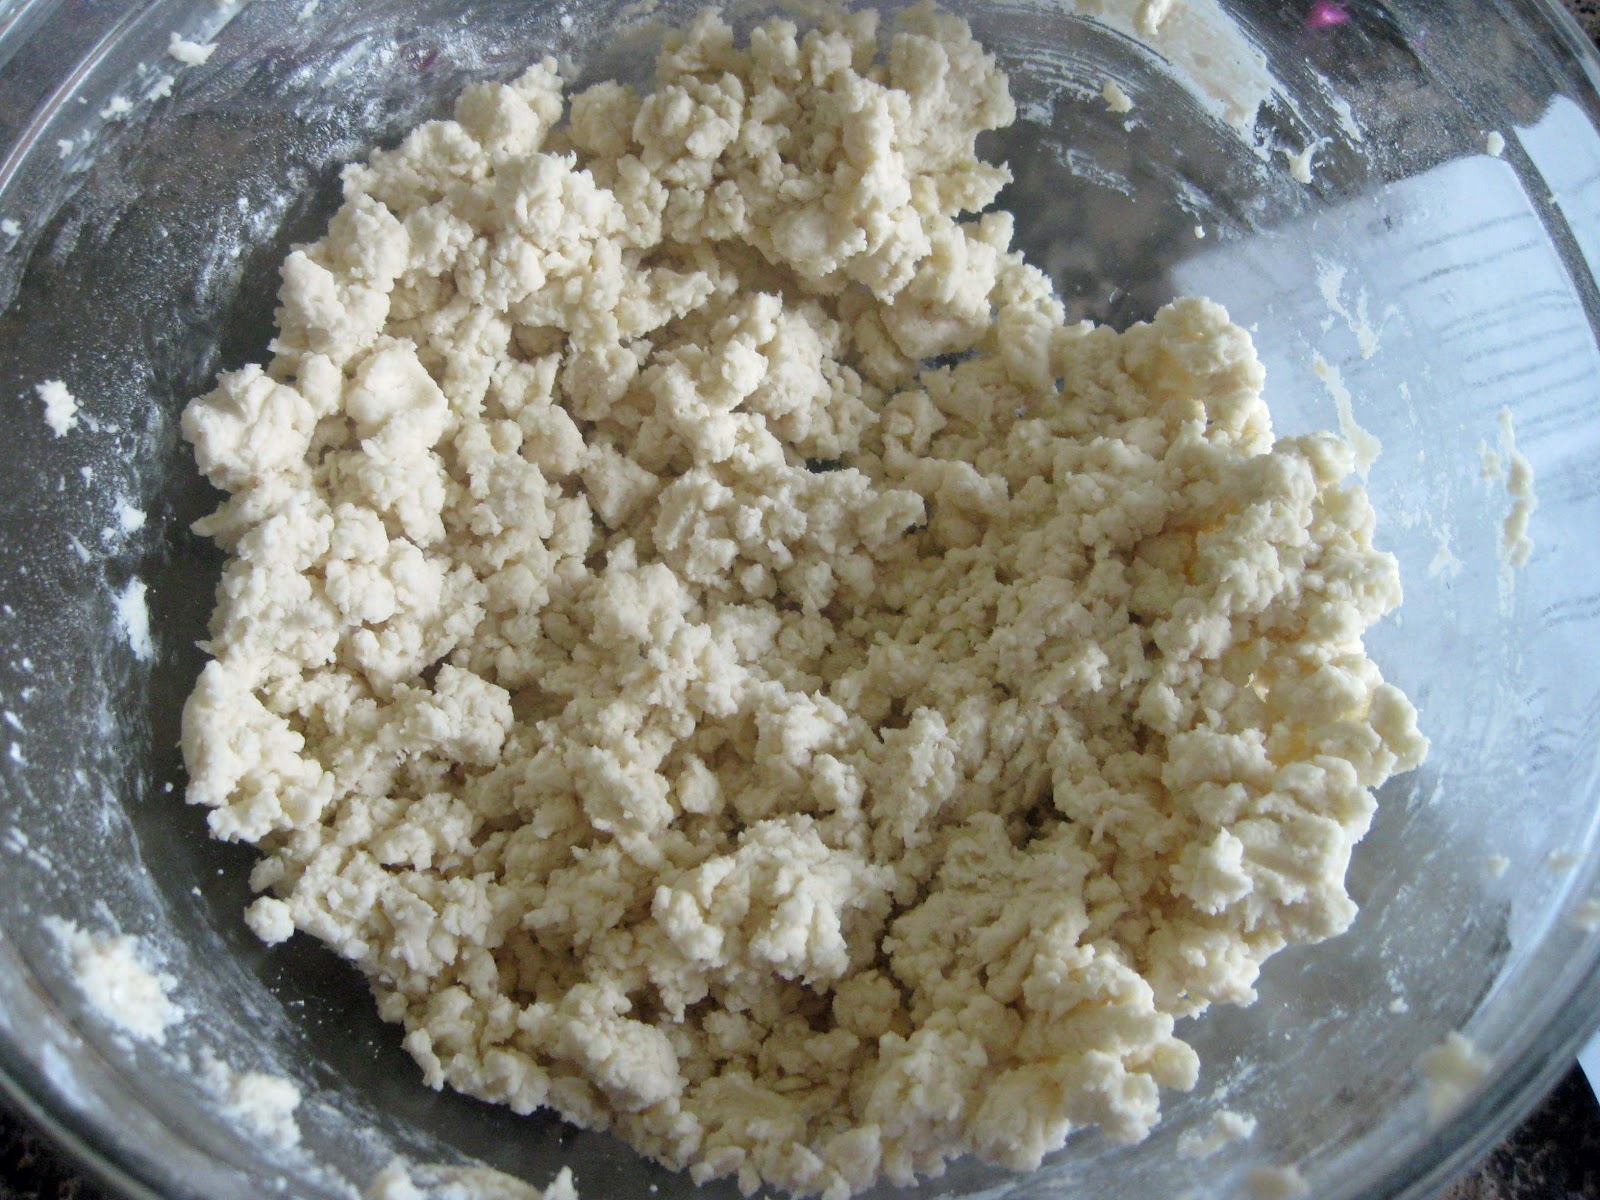
Step 1: The product comes with 2 recipes that have been tested for reliability. It gives you a sugar cookie and shortbread recipe. I find the shortbread works best for me. Mix the ingredients, but you will most likely need to add more flour. Try to get your dough to look like this. Not sticky at all. Chill for about 10 mins...no longer...gets too hard.
Step 2: Ok, a few things going on here! I am using a wood cutting board. Generously sprinkle flour over the work surface of the board. I decided to get a rolling pin that was smooth not wooden. It helps give a smoother roll. Make sure you rub the pin with flour too. Can't use enough flour in this project :)
Step 3: After you have decided which design to use, press the stamp part directly into a bowl of flour. This will keep it from sticking to the dough and keep dough out of the crevices. Firmly press the stamp into the dough.
Step 4: I have obviously decided to cut out my cookies. I was so tired of seeing the smooth edges of the cookies in the catalog that I had to figure out a way to do it myself. I found a set of round cutters at Michaels and one of them fit perfectly! I cut out the dough and put it onto my stone. Now, if you don't want to cut out your cookies, roll your dough into balls and put on cookie sheet, then press firmly with the stamp. Just make sure to dip your stamp in flour first! Remember...can't use enough flour!
Step 5: Stamp as many as you can fit on the rolled dough. I did just a few at a time. My board wasn't that big :)
Step 6: So here they are waiting to be baked. See how perfect they look??
Step 7: All done! Let cool. These got a little brown around the edges...watch your clock. Ovens vary :)
Step 8: These cookies were made using the rolling ball method. I forgot to take a picture of the PERFECT ONES!! I have always feared fondant, but I wanted them to look pretty so I tried it. You can buy blocks of colored fondant. I got mine at Michaels and thought the pink would make pretty flowers. Pinch some off the block and roll just like we did the cookie dough. The smooth rolling pin is especially important when rolling fondant. Don't want to get grain marks in it. Press the stamps on the fondant and cut out like you did the cookies. Use a spatula to put on each cookie and VOILA!!!! For extra adhesive, add some icing or melted chocolate under the fondant to make it stick. That's just if you feel like an over achiever. It might also balance out the unappealing taste of fondant...why does something that pretty taste that yucky?
I hope you will get crafty and try this new product!! We have even added a new set with the new catalog!! Here they all are!


2 comments:
Beth, I'm so glad you shared this. I've been frustrated the two times I made this and glad for the new tips to try next time!
Wow...great tutorial...and thank you Beth!
Post a Comment